
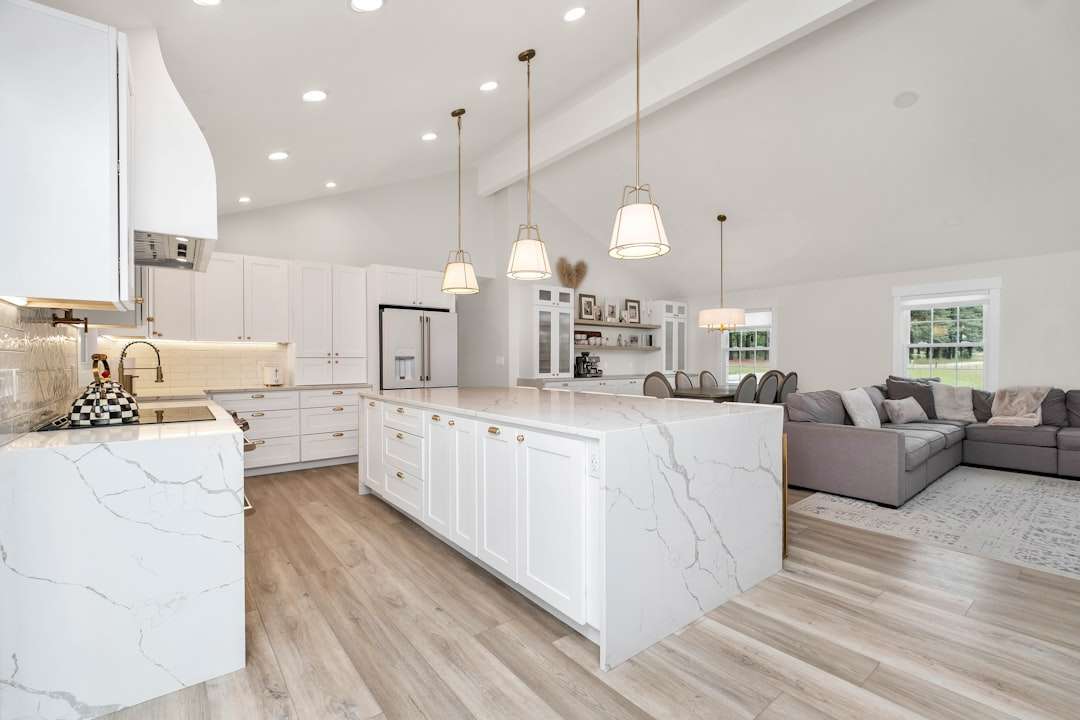
Why Kitchen Remodeling Feels So Overwhelming (And How to Change That)
Deciding to remodel kitchen spaces means starting on one of the most complex home improvement projects. Here’s what the process involves:
The 3 Main Phases of Kitchen Remodeling:
- Planning & Budgeting (8.3 months average) – Define goals, set budget, gather inspiration
- Design & Material Selection – Choose layout, cabinets, countertops, appliances
- Construction & Installation (4.5 months average) – Demolition through final touches
Recent studies show kitchen renovations average 8.3 months of planning and 4.5 months of construction. That’s over a year from start to finish—no wonder it feels daunting.
The problem is, most homeowners dive in without understanding the process. They get overwhelmed by endless decisions, blown budgets, and contractor nightmares. As one DIY renovator put it: “It devours all your free time, friends avoid you, and your health declines.”
It doesn’t have to be this way.
When you break the process into manageable phases and understand what to expect, kitchen remodeling becomes much less stressful. You’ll make better decisions, avoid costly mistakes, and enjoy creating your dream space.
I’m John Doron, owner of Salt & Pepper Construction in Tampa. I’ve guided countless homeowners through successful kitchen remodels. My goal is to explain the process so you can tackle it with confidence, not chaos.

Quick remodel kitchen terms:
Phase 1: Strategic Planning & Budgeting

This is where the magic begins, long before demolition day. The planning phase is where you’ll define your goals, set your priorities, and gather inspiration to create a concrete roadmap for success.
Homeowners who invest time upfront avoid stress and budget issues later. They’re the ones enjoying their gorgeous new space, not making frantic calls mid-project.
Why Remodel Your Kitchen?
Understanding your motivation is the compass for every decision. Are you looking for:
- Improved functionality? Tired of the cooking shuffle in a tiny kitchen? We create work zones, add counter space, and design a flow that makes cooking effortless.
- Increased home value? A smart remodel can significantly boost your property’s worth, as kitchens are key for most buyers.
- Updated aesthetics? Ready to replace those 1987 countertops? An update can reflect your current style.
- Better traffic flow? Opening sight lines and removing bottlenecks transforms how your family uses the space, especially in older homes.
- Energy efficiency? Ancient appliances inflate utility bills. Modern, energy-efficient models and better lighting save you money.
Find inspiration for your kitchen remodel to help clarify what’s driving your decision.
Essential Steps to Plan Your Remodel Kitchen Project
Now that you know your “why,” let’s tackle the “how.” As renovation expert Jeffrey Spoelker advises, “take your time, do your homework, ask questions, create pinboards, start an idea file.”
- Define your scope: Is it a cosmetic refresh, a mid-range makeover, or a full structural renovation? This decision drives everything else.
- Create a wishlist: List everything from a coffee bar to a walk-in pantry. Then, prioritize it into must-haves, nice-to-haves, and dream features to guide your budget.
- Research design styles: Use Pinterest, magazines, or Houzz to find your style. Do you prefer modern, farmhouse, or traditional? Collect images to create a visual vocabulary for your design team.
- Measure your space accurately: Include walls, windows, doors, and utility hookups. Precision is key for a perfect fit and an optimized layout.
- Consider professional help early: A kitchen remodel involves complex decisions. A design-build firm like Salt & Pepper provides expertise in space planning, materials, and project management, saving you time, money, and headaches.
How to Create a Realistic Budget
A realistic budget is your best friend. Let’s talk numbers.
On average, a midrange remodel kitchen project costs $65,000-$75,000, while an upscale project is $130,000-$145,000. These figures include design, materials, and labor, and vary by region.
The cost breakdown by percentage is roughly: Cabinetry (25-35%), Countertops (10-15%), Appliances (10-15%), with the rest for flooring, plumbing, electrical, and design.
Regarding DIY considerations, a full remodel involves licensed professionals. DIY “savings” often vanish due to mistakes, delays, and safety issues. Leave the complex work to experts.
Your contingency fund is non-negotiable. Set aside 15-20% of your total budget for surprises like old plumbing or electrical issues, which are common in older homes. This buffer keeps your project on track when surprises inevitably pop up.
How Much Should a Kitchen Remodel Cost? breaks down the numbers in more detail to help you plan effectively.
Phase 2: Designing Your Dream Kitchen
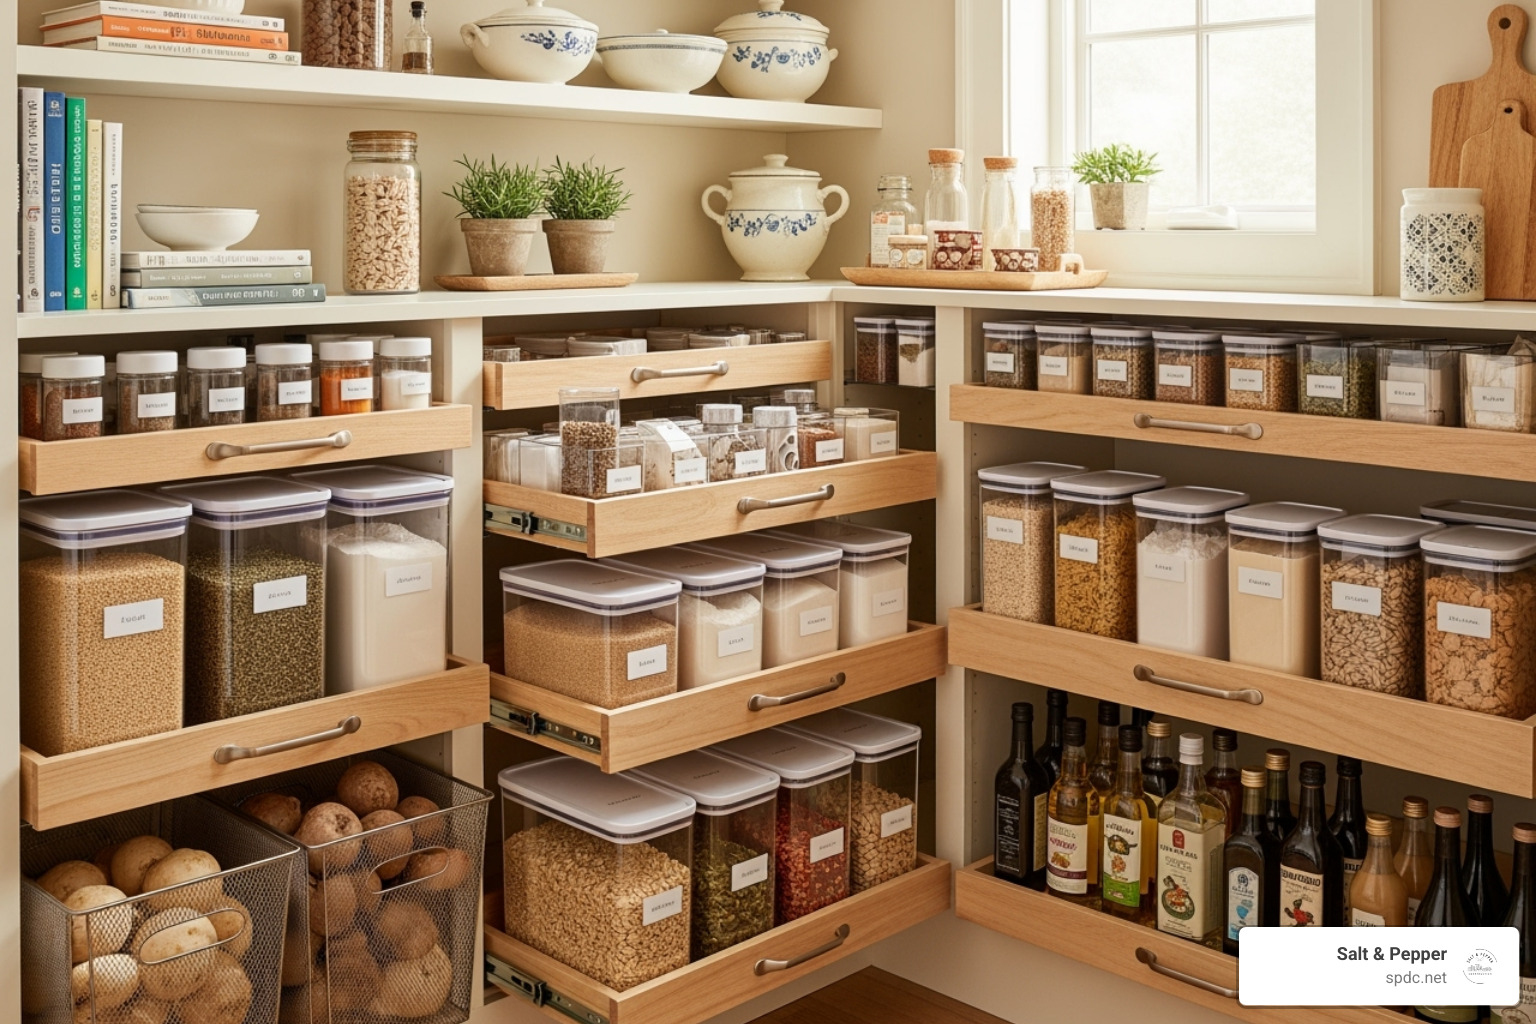
Now you’ll turn your vision into a reality through thoughtful design. When you remodel kitchen spaces, the design phase is where you’ll make the critical decisions about layout, materials, and storage that will define your new space for years to come. Learn more about Kitchen Design.
Optimizing Kitchen Layout and Flow
Getting the layout right is crucial. A good layout makes cooking effortless, while a poor one creates a frustrating obstacle course.
The work triangle, a concept championed by organizations like the National Kitchen & Bath Association (NKBA), remains a valuable design principle. It connects your three main work zones: the sink, stove, and refrigerator. For peak efficiency, these points should be 4 to 9 feet apart, creating a seamless workflow.
Your layout choice depends on your space and lifestyle:
- L-shaped layouts use two adjacent walls, offering ample counter space. They are ideal for open-concept homes as they don’t block sightlines.
- U-shaped kitchens use three walls for maximum counter and storage space, making them highly efficient. They work best in larger kitchens to avoid feeling enclosed.
- Galley kitchens use two parallel walls, making them very efficient for narrow spaces. A width of at least 4 feet between counters is key to avoid a cramped feel.
- Kitchen islands add counter space, storage, and seating. They can house prep sinks or wine coolers and help define zones in open-concept layouts.
For open-concept flow, we ensure continuity with adjacent living areas through consistent flooring, complementary colors, and thoughtful sight lines.
Choosing the Right Materials
Selecting materials is where your kitchen’s personality comes alive.
Countertops must be both beautiful and durable.
- Quartz is popular for its durability. It’s non-porous, stain-resistant, low-maintenance, and comes in many styles, some mimicking natural stone.
- Granite is a classic, durable choice known for its unique natural beauty. It’s heat and scratch-resistant but requires periodic sealing.
- Marble offers luxury and elegance but is softer and requires more maintenance, as it’s susceptible to staining and etching from acids.
Cabinet selection impacts style and budget. Options range from custom to ready-to-assemble. Popular styles include timeless Shaker, sleek flat-panel, and traditional raised-panel.
Flooring must be durable. Hardwood offers warmth, tile provides durability and water resistance, and luxury vinyl plank is a waterproof, tough option that mimics wood or stone.
Your backsplash adds personality. Options range from classic subway tile to marble mosaics. As interior designer Amanda Reynal notes, details like hardware “can lift a kitchen to the next level.”
Appliance finishes have moved beyond stainless steel. Panel-ready appliances can be hidden behind cabinet panels for a seamless, custom look.
Smart Strategies for Kitchen Storage
Smart storage transforms a pretty space into a functional one.
- Maximizing cabinet space involves more than shelves. Pull-out shelves, Lazy Susans for corners, and vertical dividers for baking sheets are essential.
- Pantry organization is key. Use clear containers, tiered shelves, and door-mounted racks to maximize space and visibility.
- Vertical storage, like wall-mounted spice racks or hanging pot racks, frees up valuable counter and cabinet space.
- Hidden appliance garages with roll-up doors keep countertops clear by hiding toasters and blenders.
We often incorporate modern must-haves like dedicated coffee bars, deep drawers for dishes, and layered lighting (recessed, pendant, and under-cabinet). Other popular features include integrated appliances for a seamless look, functional islands with seating, durable quartz countertops, personalized backsplashes, and thoughtfully placed outlets, including in-drawer charging stations.
The Renovation Process: What to Expect When You Remodel Kitchen
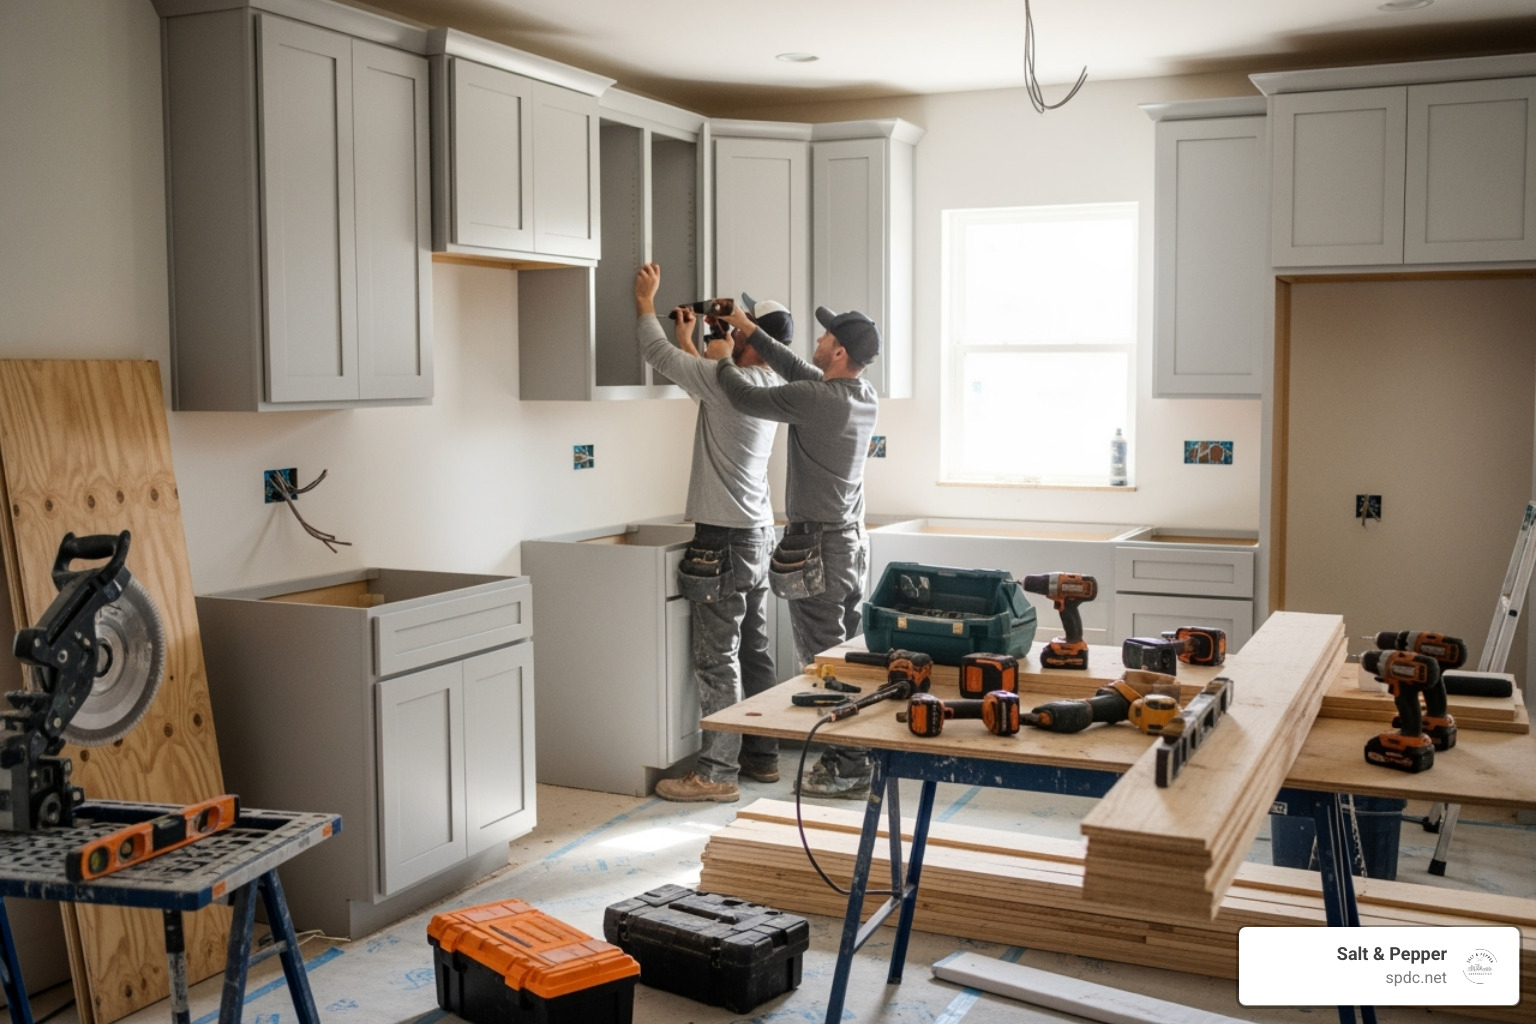
After meticulous planning and design, we move into the construction phase. Understanding what to expect is crucial for managing stress and ensuring a smooth transition. Your Guide to a Smooth Kitchen Remodeling Process.
A Realistic Project Timeline
A realistic timeline for a kitchen renovation involves significant time commitments:
- Planning Phase: This averages 8.3 months and includes research, design, material selection, and finalizing contracts. Good planning is essential.
- Construction Phase: Construction averages 4.5 months, varying by scope and unforeseen issues.
Here’s a typical construction timeline breakdown:
- Demolition & Clean Out: 1-2 weeks (up to 6 for complex jobs involving structural changes). Your contractor should manage waste removal.
- Contractor Work (Rough-in): This phase takes 1-3 weeks. This is when surprises like faulty subfloors or poor insulation are often found, especially in older homes.
- Flooring Installation: Takes about 2-3 days. Hardwood is typically installed before cabinets.
- Cabinet Installation: Takes 3-5 days. Assembling ready-to-assemble (RTA) cabinets yourself can take a week or more.
- Countertop and Appliance Installation: This can take 3-5 weeks due to custom fabrication for countertops.
- Painting and Cleaning: Final touches take 2-4 weeks. Most new drywall will be hidden by cabinets and backsplashes, simplifying the finishing work.
These are averages; supply chain issues or permitting can cause delays. Our team at Salt & Pepper prides itself on transparent communication to keep you informed.
From Demolition to Done: The Step-by-Step Process
We follow a structured approach for efficiency and quality:
- Setting Up a Temporary Kitchen: Before demo, set up a temporary kitchen with a microwave, mini-fridge, and cooktop. This will be your lifeline, as you’ll be without a kitchen for a while.
- Demolition and Cleanup: The old kitchen is removed. We use proper containment to minimize dust and manage debris removal.
- Plumbing and Electrical Rough-in: Licensed plumbers and electricians install or relocate pipes, wiring, and outlets per the new design.
- Drywall and Painting: Walls are repaired or replaced, and initial coats of paint are applied.
- Flooring Installation: The new flooring is laid down, coordinated with cabinet installation.
- Cabinet and Countertop Installation: Cabinets are installed, then countertops are measured, fabricated, and installed.
- Appliance and Fixture Installation: New appliances, sinks, faucets, lighting, and the backsplash are installed.
- Final Inspection and Punch List: We walk through with you to ensure everything meets your expectations and address any final adjustments.
Frequently Asked Questions about Kitchen Remodeling
After guiding hundreds of homeowners through their remodel kitchen projects in Tampa, I’ve noticed the same questions come up. Here are the answers to set realistic expectations.
What are the most common mistakes to avoid during a kitchen remodel?
I’ve seen homeowners make costly, avoidable mistakes. Here are the biggest ones:
- Changing the plan mid-project. Once construction begins, changes are expensive. A new island idea might require moving plumbing and tearing up new floors.
- Hiring the wrong contractor. I’ve seen shoddy work from bad contractors. Always check licenses, insurance, and references to avoid hiring someone who might disappear mid-job.
- Underestimating costs and skipping the contingency fund. That 15-20% buffer is your essential safety net for unexpected issues.
- Ignoring lighting and ventilation. A gorgeous kitchen needs proper lighting and ventilation. Plan for layered lighting for tasks and ambiance, plus a powerful range hood.
- Forgetting storage needs. Great materials don’t help if you have no place for your things. Plan storage from day one.
How do I choose the right contractor for the job?
This is one of your most important decisions.
- Check licenses and insurance. A legitimate contractor will provide proof of liability and worker’s compensation insurance. If not, move on.
- Review portfolios and references. Look for work that matches your style and quality standards. Call references and ask about their experience with communication, timeliness, and problem-solving.
- Get detailed written estimates. Don’t just compare bottom-line numbers. A low bid might mean cheaper materials or skipped steps. A detailed, itemized quote is a sign of professionalism.
- Pay attention to communication style. Do they listen and explain things clearly? Good communication from the start is a predictor of a smooth project.
The best approach is often a comprehensive design-build firm that handles everything, ensuring one point of responsibility. Find a Contractor for Kitchen Remodel.
Can I live in my house during the renovation?
Yes, most of our families do. It just takes some planning and patience.
- Temporary kitchen setup: We help you set up a temporary kitchen in a spare room or garage with a microwave, mini-fridge, and other basics.
- Managing dust and debris: We use plastic barriers, zippered doorways, and air scrubbers to contain dust, though some is inevitable.
- Establish clear work zones and schedules: We coordinate with you to set boundaries and schedules that work for your family.
- Planning for noise: Demolition and installation are loud. We’ll give you a heads-up on noisy days so you can plan around them.
Living through a remodel tests your patience, but watching your dream kitchen come together makes it worthwhile.
Conclusion
Your remodel kitchen journey doesn’t have to feel like climbing Mount Everest. As we’ve walked through together, what seems overwhelming at first becomes manageable when you understand the process and break it into clear phases.
Think about it this way: you now know that planning takes an average of 8.3 months and construction takes 4.5 months. That’s not a surprise anymore – it’s your roadmap. You understand why that contingency fund matters (because surprises happen), how to choose materials that fit your lifestyle, and what questions to ask potential contractors.
The secret ingredient? Proper planning and the right team.
When you invest time in the planning phase, you’re not just picking out pretty countertops. You’re creating a space that works for how you actually live. Whether that’s a dedicated coffee station for your morning routine, smart storage that keeps your counters clutter-free, or an island where your family naturally gathers.
The value goes beyond the beautiful photos you’ll post on social media. A well-designed kitchen makes your daily life better. It increases your home’s value, sure, but more importantly, it becomes the heart of your home where memories are made.
For Tampa area homeowners, this is where our Salt & Pepper team steps in. We’ve guided countless families through this exact process, turning what could be months of stress into an exciting change. Our approach combines innovative design with quality craftsmanship and comprehensive project management, so you can focus on dreaming about your new space instead of worrying about the details.
Ready to start your journey? We’re here to help you create a kitchen that’s uniquely yours – one that works beautifully for your family’s needs and lifestyle.


